Cakes & Desserts & Liqueurs
Various projects at Haskoning
Projects

Polar Vertex

Drawing of the week book
How to turn hundreds of whiteboard drawings in a great looking book.

Modern lamp
How to build your own great looking lamp with wood and easy to get materials.

VouwGrond - Paper craft soil layer visualization
Soil types at almost any location in the Netherlands using paper craft!

MySensors based sensors + dashboards

Simple DIY wireless button
How to make a BIG wireless button to trigger anything on your computer, laptop or Rasberry Pi.

DIY dressoir using wood

Candle powered Christmas pyramid
Building a Christmas pyramid (Weihnachtspyramide) with wood.

Construction of a Gloggomobil

Homebuild windmills

DIY Tetrapod plush

Climagon climate paper craft

Internet hardware furniture
Old code
Various games / projects at Deltares

Pompeii - Bike pump controlled game

Om de put (Around the pit)

Levee Patroller

Groen Eiland

Zand verdeler

Horsegame

CPT - game

Port of the Future (Corealis)
Serious game about ports of the future; nature based solutions.

Virtual Reality versions of experimental facilities

CIrcle
CIrcle a tool to support the analysis of domino effects of critical infrastructures.

Sustainable Delta Game
Game which combines 3d graphics, playing cards and a simulation model.
Older games
Augmented Reality / Graphics

Subsoil on a mobile device
My Master thesis: Visualizing and estimating the distance and depth of underground infrastructure.

Real-time visualization of water simulation
Turning calculated water flows into a real-time visualization.

RED - Motion captured animation

Open Data Sources for 3D Data Visualisation
Christmas pyramid
Construction of a Christmas pyramid / Weihnachtspyramide
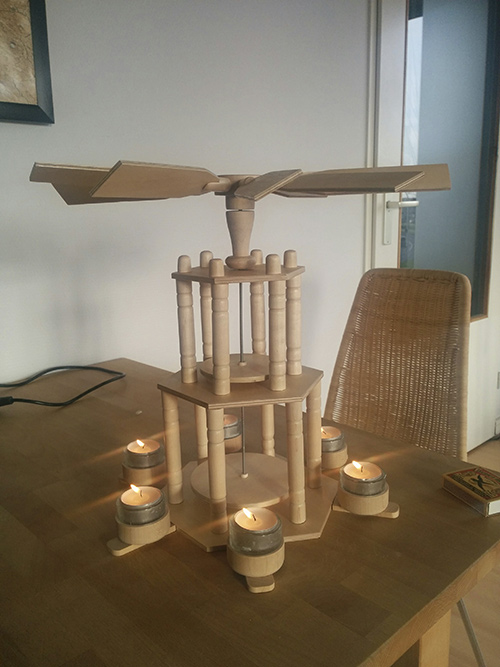
Some information about the Christmas Pyramid (Weihnachtspyramide) that I have build in 2017.The idea of the construction is quite simple: candles create hot air which rises, and hitting the impellor on top of the Christmas pyramid. The blades of this impellor have an angle which makes the air flow faster on one side than the other, "pushing" the blades forward. very similar to the creation of lift of airplanes or the wind pushing wind mill and wind turbine blades.
If you want to build one yourself, you can download some of my plans. Please bear in mind however that during the creation of the parts various parts might have changed (or are not even in these plans) a bit to fit better or due to variations in measurements and available tools in the workshop.
Download the plans in PDF here: Christmas pyramid plans (pdf).
These should be printed in A3 format. Be sure to measure the printed lines as I have experienced that some PDF viewers (like in Mozilla FireFox) do some automatic scaling which makes 20 cm not 20cm on paper.
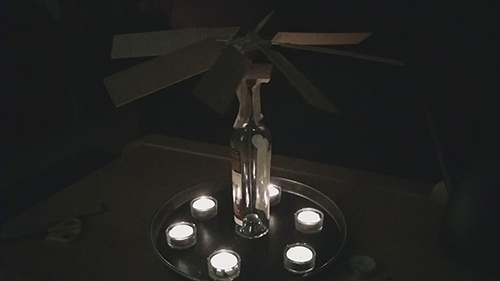 The first rapid prototype by just using a metal rod, Ikea tea light holders and some very thing blades. It did rotate quite fine, on the center part of the bottle.
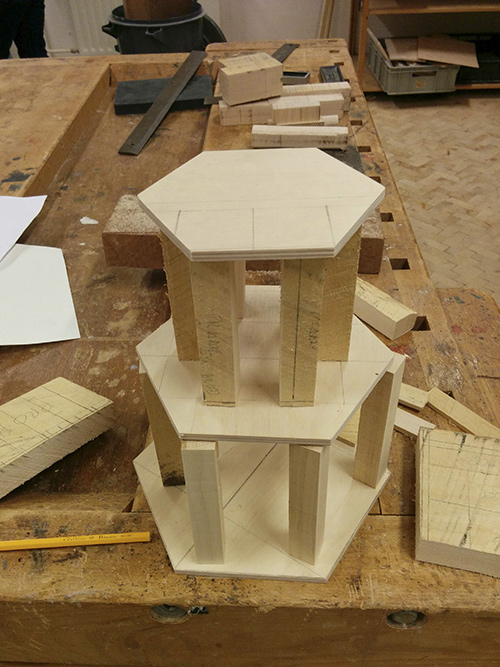
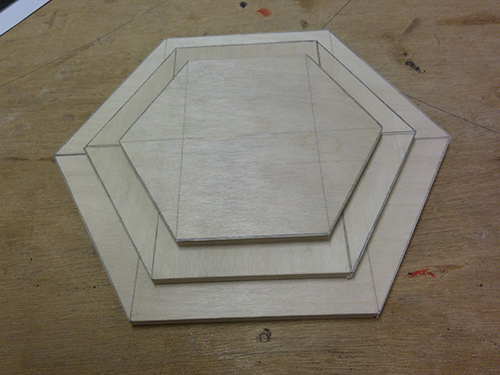 The floors of the Christmas pyramid. Our pyramid will have three floors.
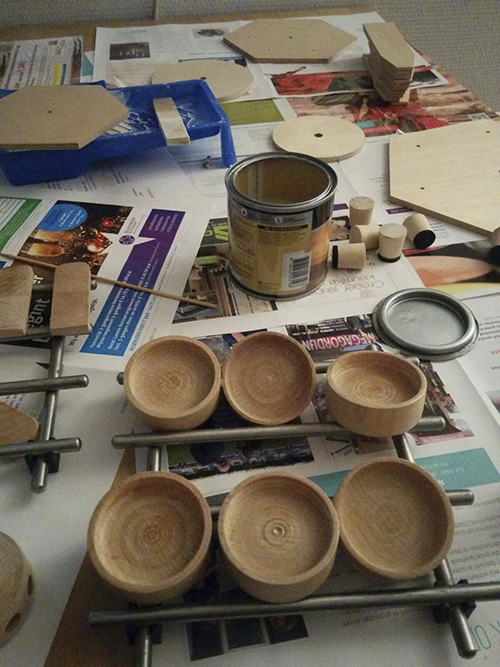
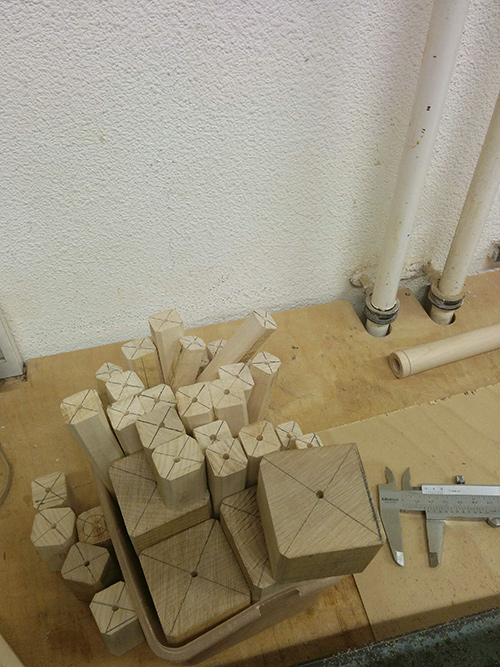 A lot of material for the pillars and the tea light holders. It is important to mark the center first by making a cross, before putting it in the lathe!
 Testing the height of the pilars to see if the proportions are OK.
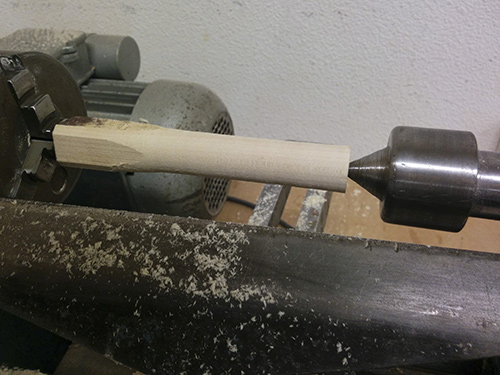 Creating one of the taller pillars in the lathe.
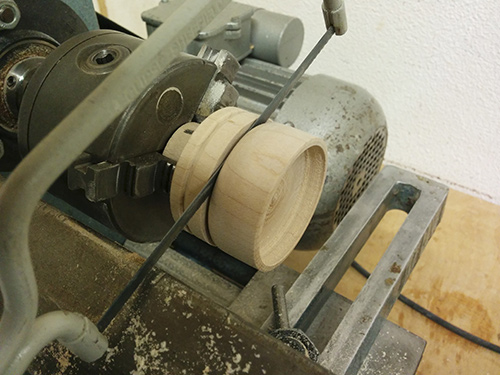 Sawing one of the tea light holders on the lathe. The idea is that the machine does the cutting for you. It's wise to stop the machine close at the end and do the last part yourself.
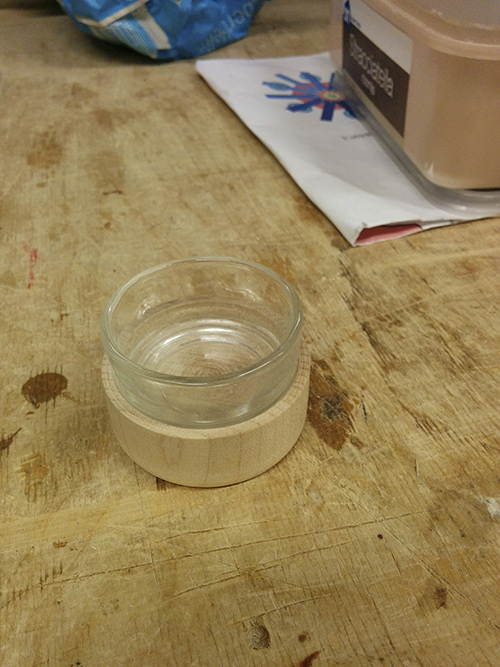 Finished tea light holder after some adidtional sanding.
 One of the first tests to see how the blades match up with the cup holders and if the rotating platforms fit properly in the Christmas pyramid.
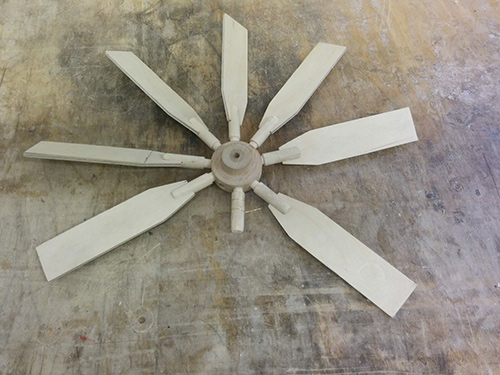
 The blades practically finished.
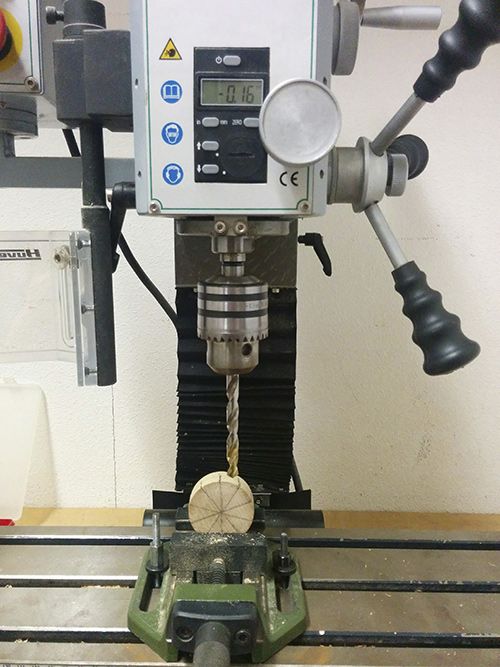 Tricky part that does not leave much room for misstakes. Drilling the holes in the blade hub using a vertical drill.
 Displaying the blade hub, blades and gluing noe of the holders that got a bit broken by pressing the blade a bit too hard.
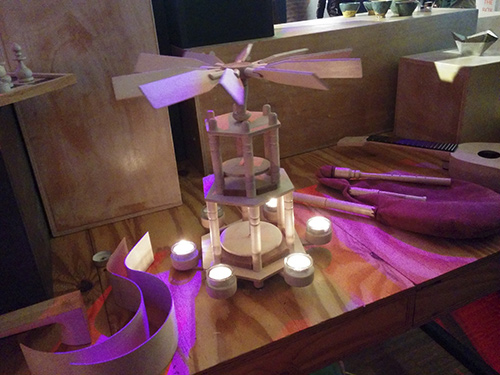
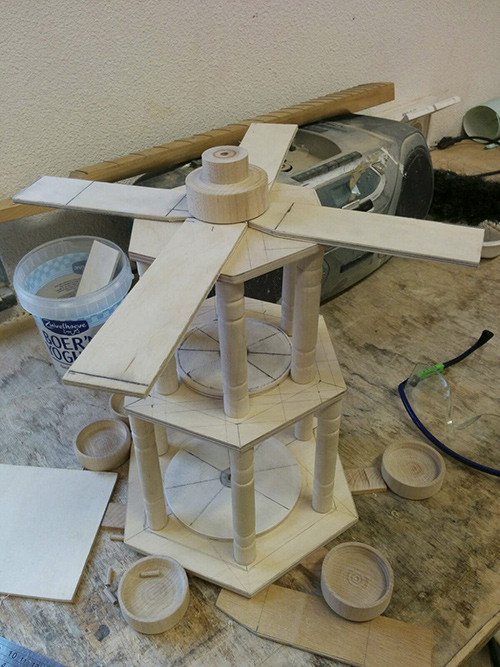
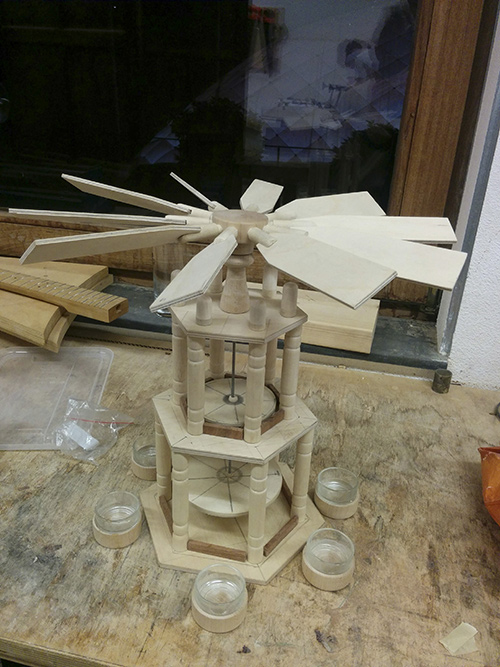 The Christmas pyramid is becoming nice! In this picture an additional experiment by making tiny darker coloured walls between the pillars on the first two levels.
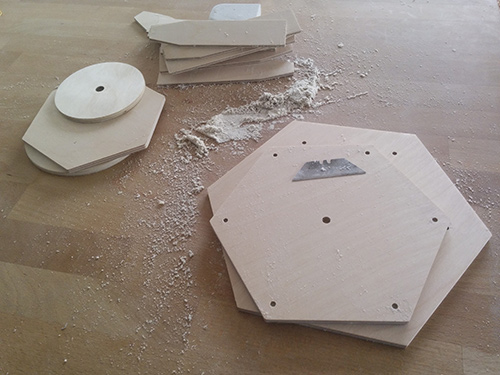 An eraser might not get rid of all the pencil drawings and markings. You can use a small knife blade to scratch away a tiny bit of wood to cleanup the wood.
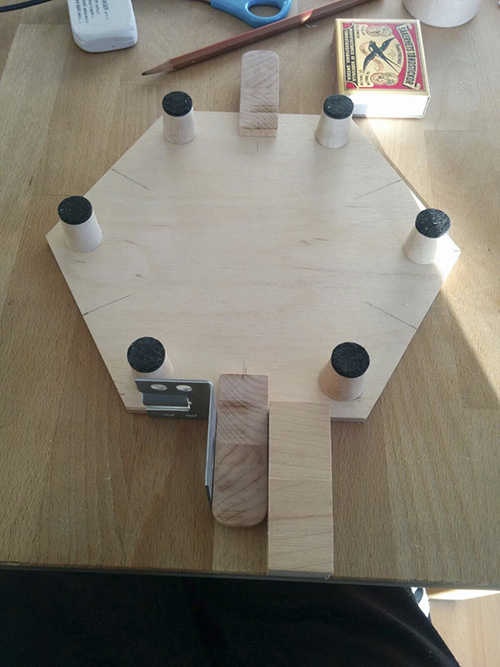 We add some sticky felt caps to the feet, to reduce the chance of it scratching any surface.
 It is important we add some varnish ("Lak") material to the wood, for protection and making it a tiny bit soft shiny. It should be the kind that is based upon water.
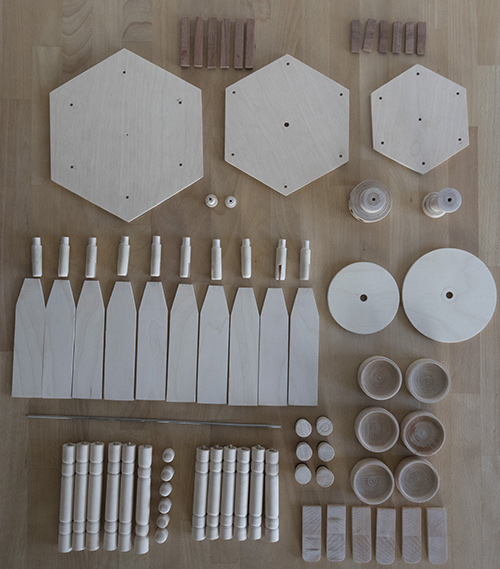 All Christmas pyramid parts prepared and ready to put together for assembly.